Introduction
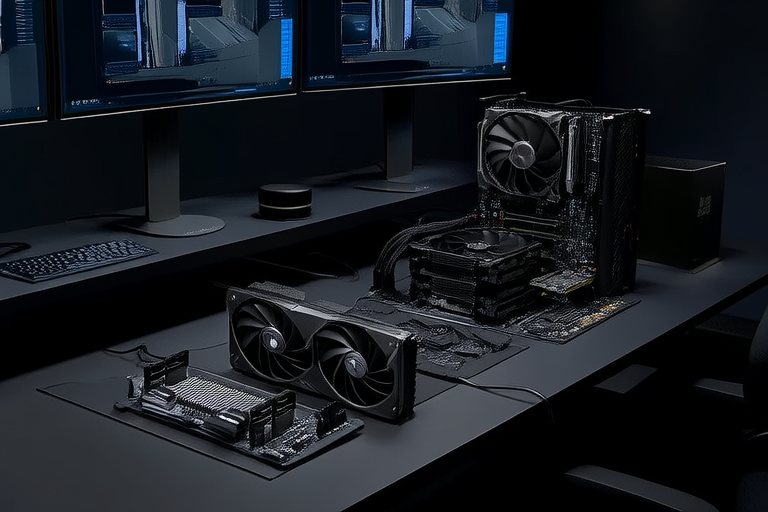
Building a custom gaming PC is more than just assembling hardware; it’s about crafting a personalized experience tailored to your gaming needs. Unlike pre-built systems, a custom build allows you to handpick every component, ensuring optimal performance and value for your budget. Whether you’re chasing buttery-smooth frame rates in AAA titles, competitive precision in esports games, or immersive experiences in virtual reality, building your own PC gives you complete control over the process. Additionally, the satisfaction of completing a project with your own hands is unmatched, making the journey as rewarding as the destination.
Planning Your Build
Before diving into the world of components, it’s crucial to plan your build carefully. Start by defining your budget. Entry-level builds can deliver solid performance for under $800, while mid-range systems typically range from $1,000 to $1,500. High-end rigs, capable of running the latest games at ultra settings, often exceed $2,000. Set realistic expectations based on your budget—don’t expect flagship performance on a tight budget, but also avoid overspending on features you don’t need.
Next, consider your gaming priorities. Are you aiming for photorealistic graphics in AAA titles? A powerful GPU and CPU are essential. For esports enthusiasts, prioritize high refresh rates and low latency, which depend heavily on a fast GPU and responsive monitor. VR gamers should focus on GPUs with ample VRAM and CPUs that can handle complex simulations. Compatibility is another critical factor. Ensure all components work together seamlessly, paying attention to socket types, form factors, and power requirements.
Essential Components Breakdown
CPU
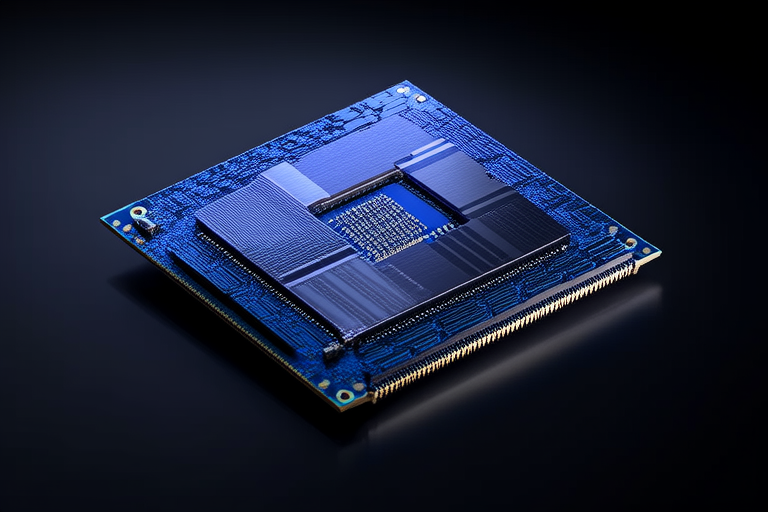
The CPU (Central Processing Unit) acts as the brain of your PC, handling game logic, physics, and background tasks. Key features to look for include core count, clock speed, and thermal design power (TDP). For budget builds, AMD’s Ryzen 5 5600X or Intel’s Core i5-12400F offer excellent performance. Mid-range users might opt for the Ryzen 7 5800X or Core i7-12700K, while enthusiasts can splurge on the Ryzen 9 7950X or Core i9-13900K.
GPU
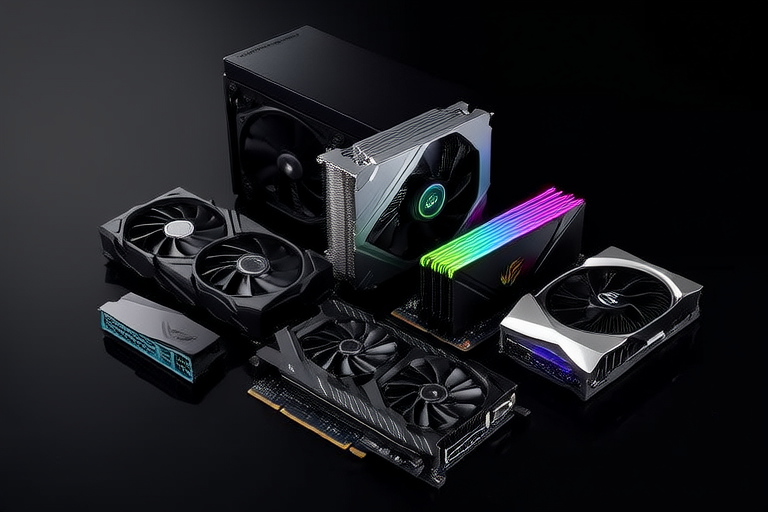
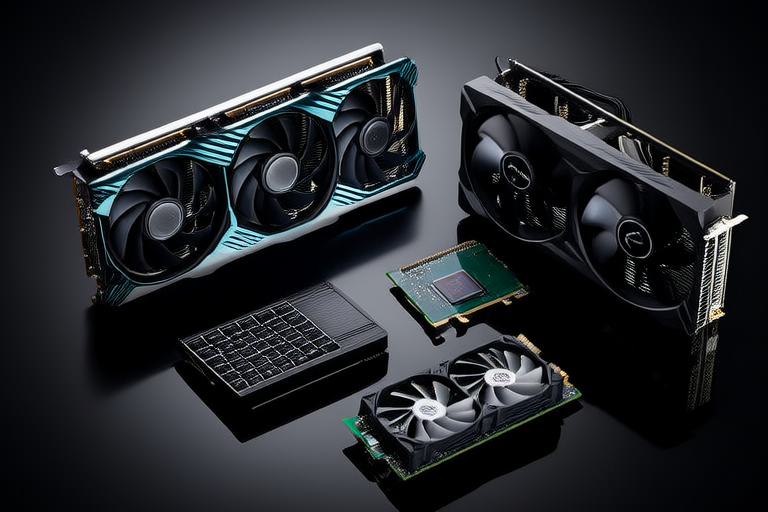
The GPU (Graphics Processing Unit) is arguably the most important component for gaming, rendering visuals and enabling technologies like ray tracing. Modern AAA games demand at least 8GB of VRAM, while 12GB or more is ideal for 4K gaming. Popular options include NVIDIA’s RTX 4060 for budget builds, the RTX 4070 Ti for mid-range, and the RTX 4090 for top-tier performance. AMD’s RX 7600 XT and RX 7900 XTX are strong alternatives.
RAM
RAM (Random Access Memory) ensures smooth multitasking and prevents bottlenecks during gameplay. 16GB is the sweet spot for most gamers, though 32GB is recommended for content creators or those running memory-intensive applications. Opt for DDR5 if your motherboard supports it, but DDR4 remains a reliable choice.
Storage
SSDs (Solid State Drives) outperform HDDs (Hard Disk Drives) in speed and reliability. A 1TB NVMe SSD is ideal for storing games and operating systems, while a secondary HDD can provide additional space for less frequently accessed files. Look for PCIe Gen 4 SSDs for maximum read/write speeds.
Motherboard
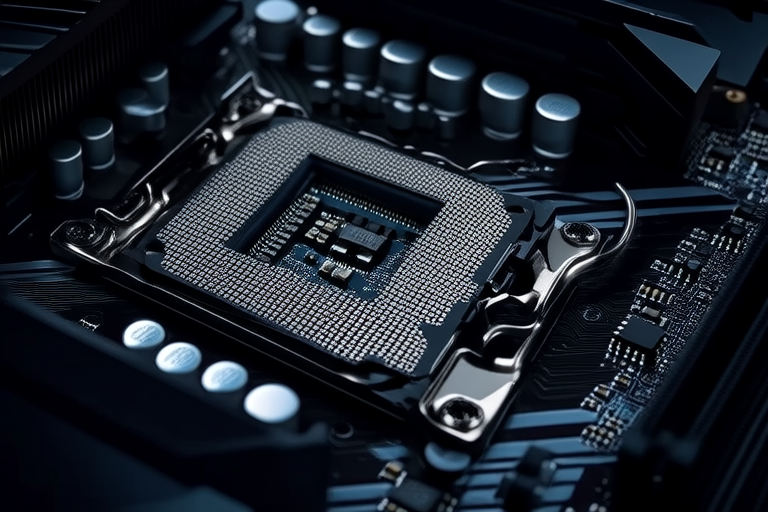
Your motherboard connects all components and determines compatibility. Choose one with the correct socket type (e.g., AM5 for Ryzen 7000 series, LGA 1700 for Intel 12th/13th Gen), a suitable chipset (B660 for mid-range, Z790 for high-end), and desired form factor (ATX, Micro-ATX, or Mini-ITX).
Power Supply
A reliable PSU (Power Supply Unit) is vital for system stability. Calculate wattage based on your components’ power draw, adding a 20% buffer. Aim for an 80 Plus Gold-rated unit or higher for efficiency. Modular PSUs simplify cable management, while non-modular units are more affordable.
Cooling Solutions
Air coolers like the Noctua NH-D15 are cost-effective and efficient for most builds, while liquid coolers such as the NZXT Kraken X63 excel in high-performance scenarios. Apply thermal paste sparingly—a pea-sized amount in the center of the CPU is sufficient.
Case
Your case should accommodate your motherboard size, have adequate airflow, and reflect your aesthetic preferences. Consider features like tempered glass panels, RGB lighting, and dust filters when making your choice.
Step-by-Step Assembly Guide
Assembling your PC is simpler than it seems. Begin by grounding yourself to prevent static damage—use an anti-static wrist strap or touch a metal surface periodically. Install the CPU onto the motherboard first, followed by the RAM and cooler. Mount the motherboard into the case, secure the PSU, and connect all necessary cables. Add storage drives, then install the GPU. Double-check connections before powering on.
If issues arise, troubleshoot methodically. Check cable connections, ensure components are properly seated, and consult manuals. Common problems include incorrect BIOS settings or loose connections.
Software Setup and Optimization
After assembly, enter the BIOS to verify settings like boot order and XMP profiles for RAM. Update the BIOS if needed, then install your OS—Windows 11 or Linux distributions like Ubuntu are popular choices. Download drivers from manufacturers’ websites for optimal performance. Tools like MSI Afterburner and HWMonitor help tweak settings and monitor temperatures.
Performance Testing and Benchmarking
To ensure your build performs reliably, run benchmarks and stress tests. Use tools like 3DMark for graphical performance, Cinebench for CPU testing, and Prime95 for stability checks. Monitor temperatures and frame rates to identify potential issues early.
Future-Proofing and Upgradability
Invest in a robust motherboard and PSU to facilitate future upgrades. GPUs and CPUs are the easiest components to swap out, so prioritize these when planning long-term improvements. Keeping firmware updated and maintaining proper cooling will extend your system’s lifespan.
Conclusion
Building your dream gaming PC in 2025 is a rewarding endeavor that combines technical skill with creative expression. By carefully planning your build, selecting compatible components, and following a structured assembly process, you can create a machine perfectly suited to your gaming aspirations. Remember to optimize software settings, test performance thoroughly, and plan for future upgrades. The sense of accomplishment you’ll feel upon completing your custom rig is unparalleled, making this project well worth the effort.
